And ... now I am all set for this year, even if every single student gets all the way to the elusive GOLD GLITTER CLIP!!!
I'm linking up with 4th Grade Frolics for Monday Made-It to show off my work and give you some tips if you are planning to color and glitter any clips!

First, I dyed the clips using Rit dye. If you're using warm water, it takes 15 minutes to an hour to get good color (depending on how much dye you put in and how deep you want your color to be). If you're using room-temperature water, it takes a LONG time (overnight worked well). I used warm water from the tap for the first batch of each color (so the dye would dissolve) and then reused the same dye-water for the rest of the batches.


Note: Wood floats. Don't be like me and think that if you make it deeper, it will cover the whole clip.
It won't. You've just got to turn then every once in a while.
Then, they had to dry.
Next up, GLITTER (for those superstar students who get to their 5th or beyond new clip).

Because of the glitter I had, I used two different methods. Here are my pros/cons of three methods (one I did last year as I scrambled to make clips mid-year):
Hot Glue and Loose Glitter:
Pros: Fast
Cons: Doesn't look as great, some glitter falls off
White Glue, Loose Glitter, and Sealant:
Pros: Pretty
Cons: Count the steps and supplies needed (put on glue, spread it around, put on glitter, shake off glitter, let dry while you painstakingly try to clean up the glitter, spray with sealant, let dry)


And ... maybe it is the sealant I chose or my spraying technique
... but my fingers were still covered in glitter after handling these.
Glitter Glue:Pros: It looks pretty and there's no glitter to clean up.
GLITTER GLUE FOR THE WIN!
Seriously, I don't think I will ever do
any more clips with loose glitter.
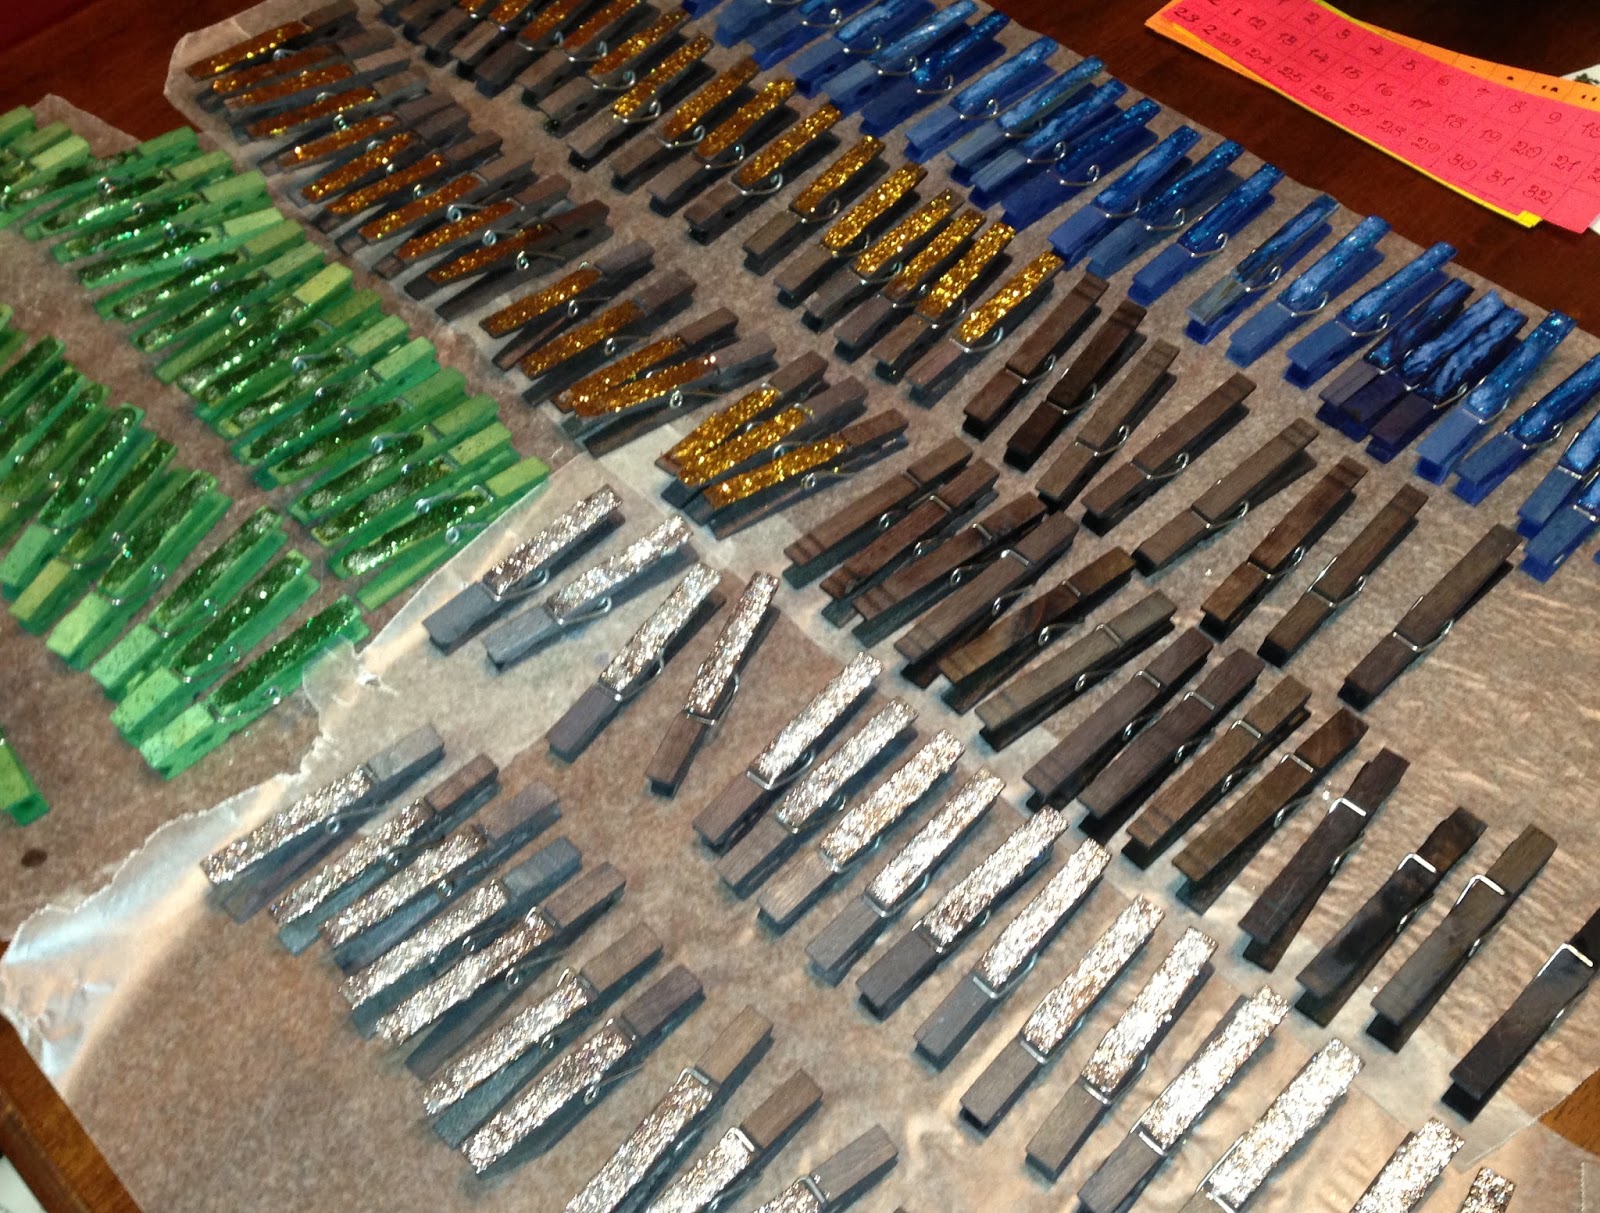 |
| The loose glitter and glitter glue ones drying in peace (and some plain black ones sneakily preparing for the next step). Side note: It seems like the poor red ones always got left out of the pictures :( |
Last, glue on numbers so they are good and ready for your Behavior Superstars (I actually did this before the sealant on the loose glitter ones and it worked just fine).

And, without further ado, the finished product:
 |
| Each color is in number order on a scrap of cardboard. I think this will keep them nice and tidy. Students get a plain clip on the first day of school (upper left), then black, blue, green, red, red glitter, green glitter, blue glitter, silver glitter, and finally gold glitter. |
I have at least two extras of each color (I guess I wasn't so hot at counting on this ... but extra extras can't hurt!), so I'm clear for at least two new students to come mid-year. Being prepared will make it not happen, right?!?!
Wowie! Looks like fun!
ReplyDeleteI love this idea and tutorial! Thanks a million!
ReplyDeleteNicci
Chalet Ré
You're welcome!
Delete